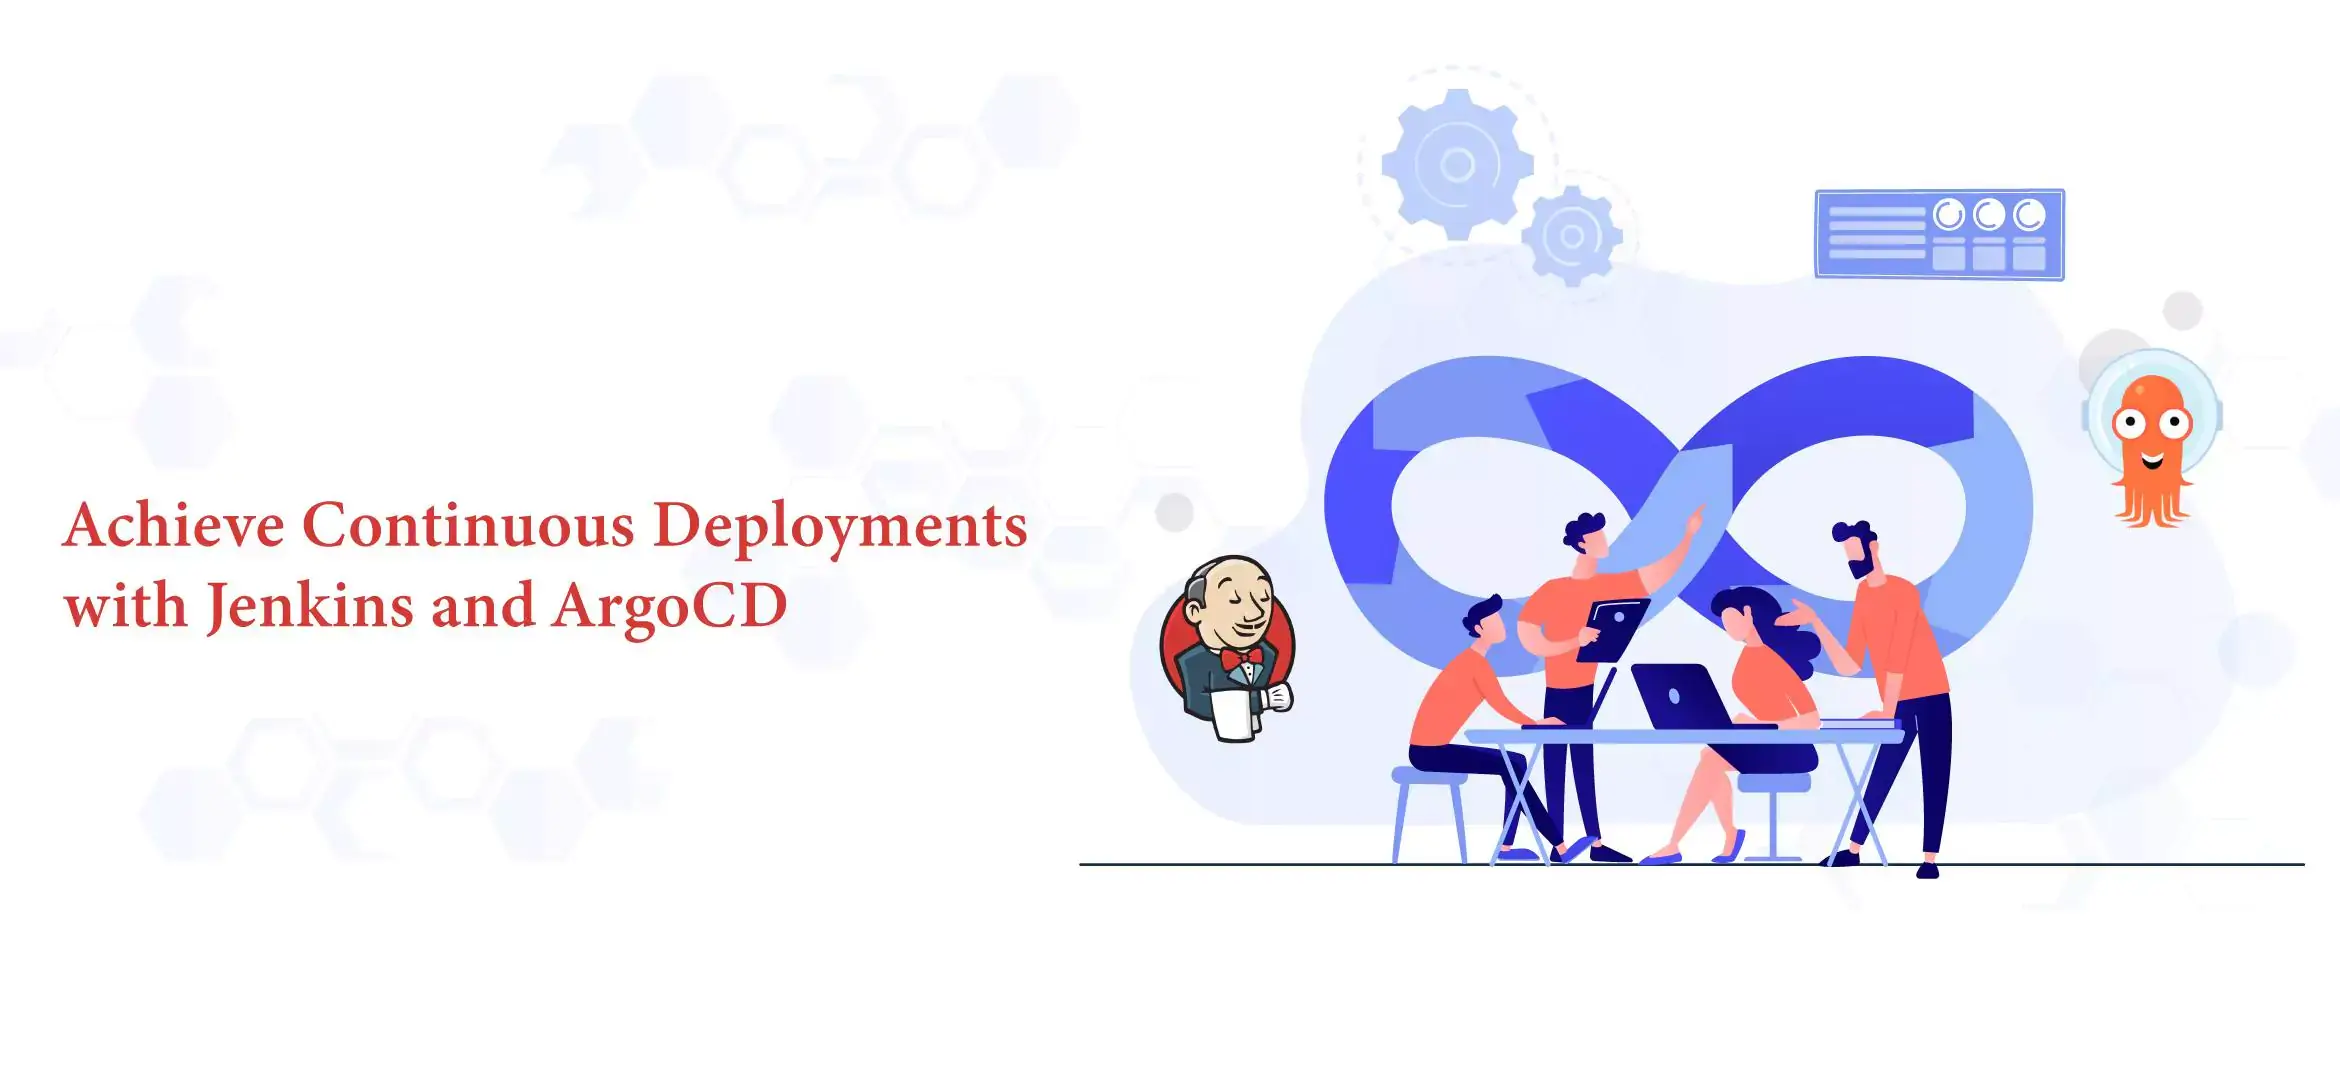
Jenkins and ArgoCD are well-known and widely used DevOps project development tools by DevOps engineers. They help DevOps teams achieve continuous deployments on highly configured environments. In this article, we've explained steps to achieve continuous deployment on higher environments using Jenkins and ArgoCD while running functional application code tests in the lower environment, fixing bugs, and preparing it to run on high configuration platforms.
Development Scenario:
- We’ll be using trunk-based development by keeping code and helm charts in the same repository for the deployment.
The process we’ll follow:
1. Use Jenkins and ArgoCD to build and deploy application code in Build(bld) environment.
2. Once the build is ready, the deployment environment will trigger the functional application tests and move code into the Integration(int) and Production(prd) environment.
3. In the production environment, a manual approval stage will be created before it shifts build for the deployment.
Continuous Deployment’s Building Process Overview:
Step 1: Build and specify the version of the latest code image and then push it onto the Image repository.
Step 2: Update the build environment helm chart with the latest image tag.
Once steps 1 and 2 are done, ArgoCD will sync the latest code, start its deployment process, and trigger the post-sync-hooks to start running functional tests.
1. Successfully completed tests will finish the post-sync job and invoke the integration process of the Jenkins job.
2. Further, integrating Jenkins's job will amend the helm chart respectively.
3. With each new update on the helm chart, ArgoCD will trigger the code deployment process.
4. In the integration environment, once the deployment process completes successfully, it will trigger the approval process, and after getting approval, it will update the production environment helm charts.
Detailed Overview of the Process:
- It is mandatory to have a CI (Continuous Integration) job ready for pushing the latest code image into the image repository.
- Example of repository hierarchy:
- environment-ci
- bld-Jenkinsfile
- int-Jenkinsfile
- prd-Jenkinsfile
- Dockerfile
- nginx-helm-chart
- Chart.yaml
- bld-values.yaml
- int-values.yaml
- prd-values.yaml
- templates
(Note: Build the docker_build file and push the image onto the repository by specifying the image version tag with nginx:v1.0.0)
- While dealing with the bld-jenkinsfile, update its version tag option to the image tag option, which will create a bld-values.yaml file and reflect all changes in the GitHub repository.
- $version – defines an environmental variable to create the image tag
- github-token: adds the GitHub token into Jenkins
Use the following code to update the image tag and push it onto the GitHub repository:
stage('tag update and git commit') {
              steps {
                  withCredentials([gitUsernamePassword(credentialsId: 'github-token', gitToolName: 'Default')]){
            sh script:'''
            #!/bin/bash
            sed -i "s/`cat bld-values.yaml | grep tag: | awk {'print $2'} | head -1`/"$version"/g" bld-values.yaml
            git status
            gitstatus=`git status |grep -i 'nothing to commit' |awk -F, {'print $1'}`
            echo $gitstatus
            if [ "$gitstatus" = "nothing to commit" ]
              then
              echo "Pass the pipeline"
              else
              git status
              git add .
              git config --global user.email "jenkins@devops.com"
              git config --global user.name "jenkins"
            git commit -m "Modified bld-values.yaml by jenkins"
            git push --set-upstream origin HEAD:main
            fi
            '''
            }
        }
    }
- Once you run this code, ArgoCD will initiate the sync process with the GitHub repository in every 3 mins and deploy the updated code image into the Jenkins build environment with the latest version.
- After that, a post-sync-hook will be triggered to invoke the functional tests on the latest deployment version.

- Successful functional tests and post-sync-hook will send the Jenkins webhook notification, which will initiate the higher environment-supported Jenkins job named ie-int-jenkinsfile.
Note: If a function test fails, it will result in the failed job and update the user regarding the failure. Tips: Set up argocs-notifications-controller to configure Jenkins as webhook and generate notification regarding sync or sync job failure. Jenkins details will be stored in the config-map format. Refer to the following lines of code:
#argocd-notifications-controller configmap
apiVersion: v1
data:
  service.webhook.jenkins-int: |
    url: http://jenkins.devops.online/job/int-argocd-job/build?token=jenkins-int-job
    basicAuth:
      username: devops
      password: #################
  service.webhook.jenkins-prd: |
    url: http://jenkins.devops.online/job/prd-argocd-job/build?token=jenkins-prd-job
    basicAuth:
      username: devops
      password: #################
AND
additionalApplications:
   - name: nginx-bld
     namespace: argocd
     additionalLabels: {}
     additionalAnnotations:
       notifications.argoproj.io/subscribe.on-sync-failed.teams: channelName
       notifications.argoproj.io/subscribe.on-sync-succeeded.jenkins-int: ""  //application specific annotation
     finalizers:
     - resources-finalizer.argocd.argoproj.io
     project: default
     source:
       repoURL: git@github.com:aa-playground/argocd-test-nginx.git
       targetRevision: HEAD
       path: nginx
       helm:
         valueFiles:
           - bld-values.yaml
     destination:
       server: https://kubernetes.default.svc
       namespace: default
     syncPolicy:
       automated:
         prune: false
         selfHeal: false
- Repeat the same process in the next environment for the deployment.
- Configure the Jenkins job with the deployment approval process.
- Post-approval, Jenkins will amend the prd-values.yaml file with the latest findings, and ArgoCD will initiate the sync process of the file.
Final Remarks:
When you create an Argo project, you will get many supported controllers, such as:
- ArgoCD Image updater: Provides features to update image tags (keeping SCM repo as poly-repo)
- ArgoCD rollouts: Provides rollback feature and helps to implement new deployment strategies
You can take the information mentioned in this article as a beginners’ guide to achieving continuous deployment using Jenkins and ArgoCD, integrated with possible features needed to build a great solution Have any queries related to DevOps solutions or services? Write us your requirements at marketing@cloudstakes.com. Or Book your first free 60 minutes of DevOps consultation with our DevOps experts.
 EdTech
 FinTech
 Logistics
 Healthcare
 Automobiles
 Manufacturing
 Telecommunications
 InformationTechnology