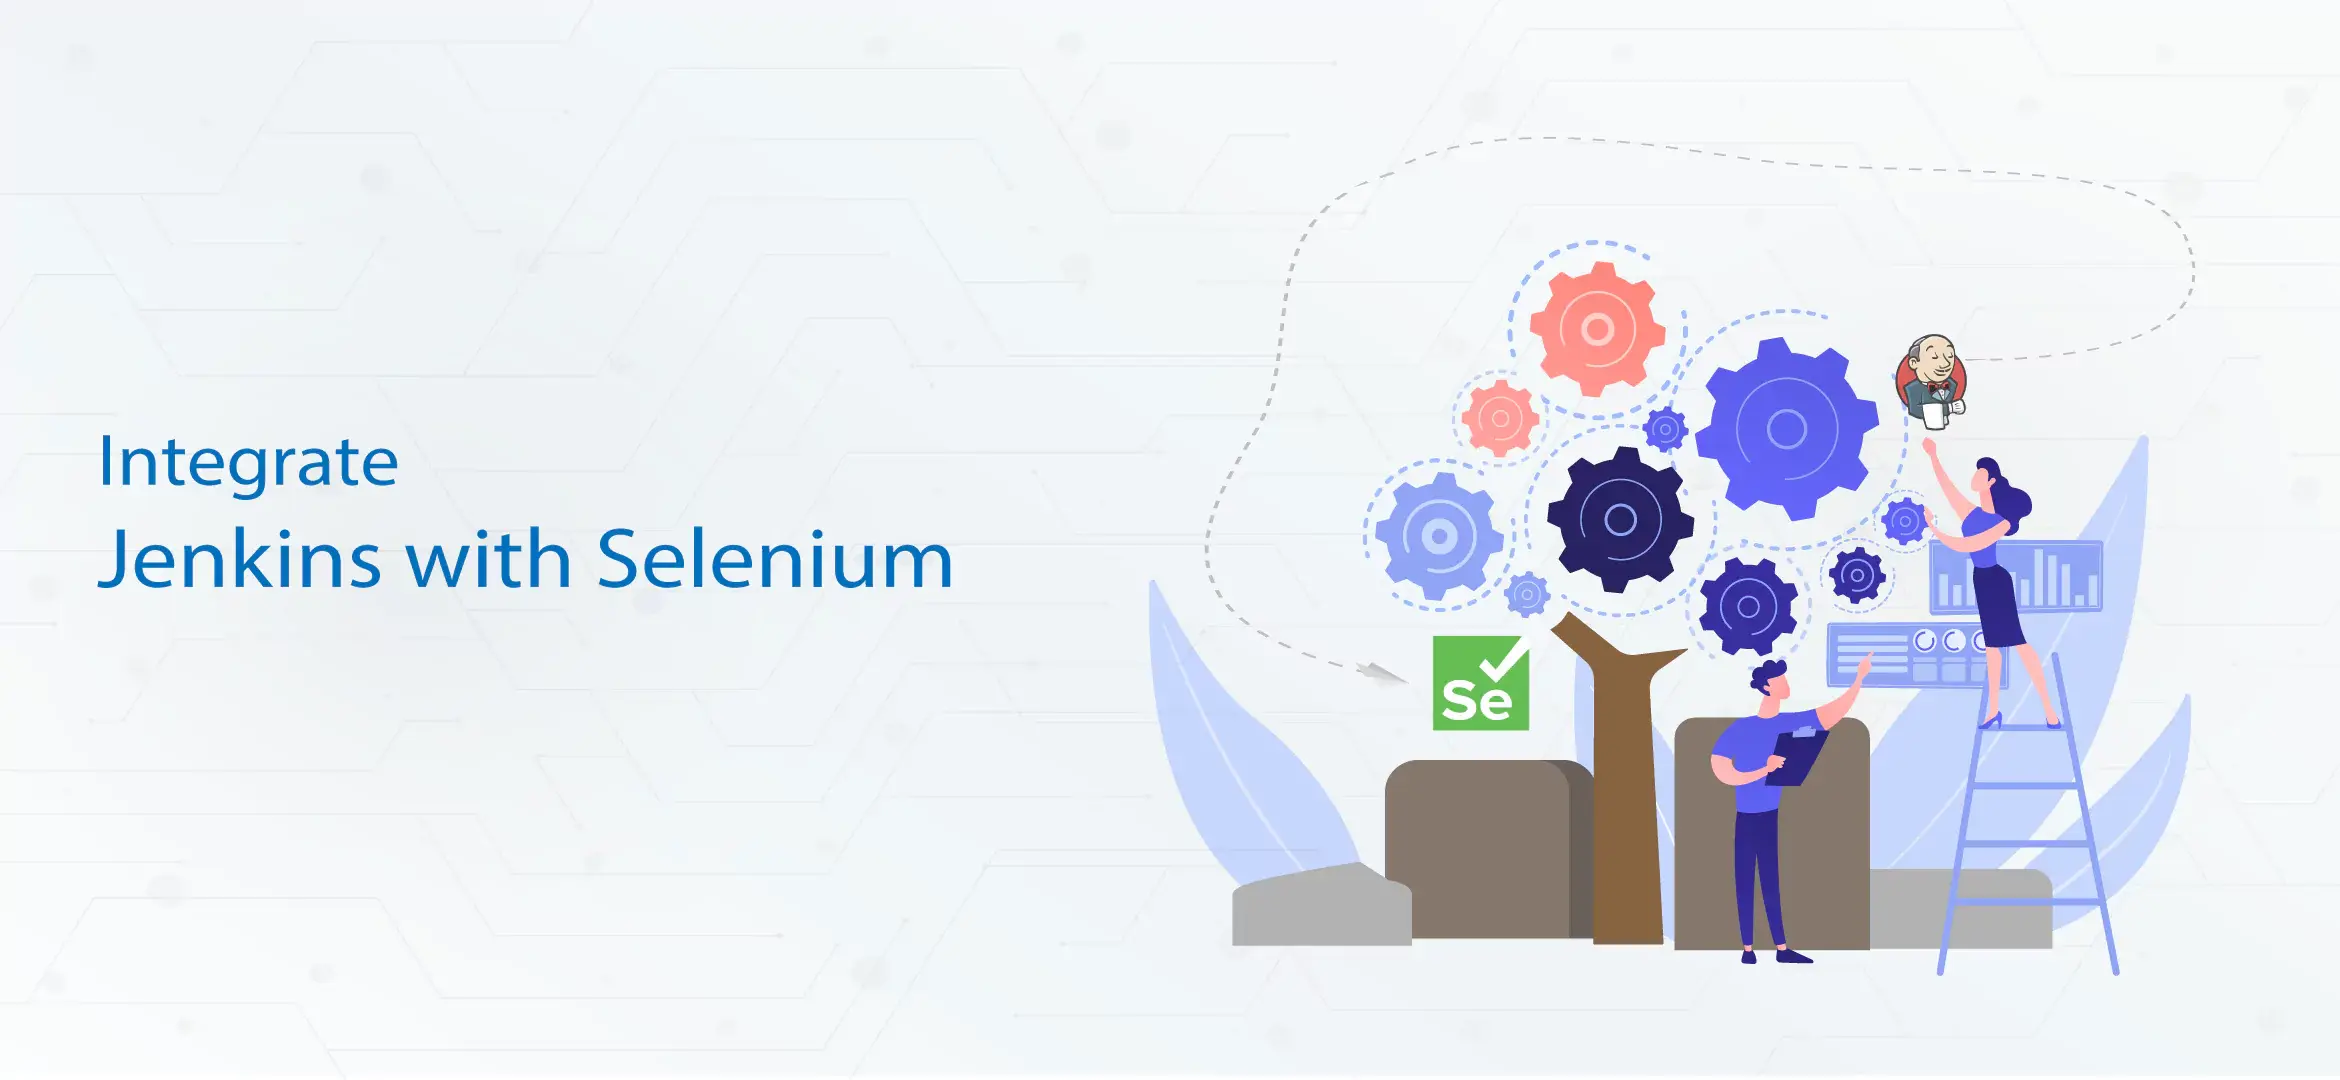
Jenkins is best known for providing continuous integration and continuous delivery (CI/CD) services in DevOps software development. On the other hand, selenium is best known as an open-source automation tool providing a web application testing service. Integrating Jenkins with Selenium helps to automate the script running process whenever new changes are made in the software code. This integration also enables Jenkins to schedule tests at a specific time, which helps you save the execution history and test reports. So, let’s get started with the steps to process Jenkins and Selenium integration.
Steps to Integrate Jenkins with Selenium:
Step 1: Go to the Jenkins dashboard and click on the New Item to create a new Jenkins job/project.  Name the item as per your project aspect and click on the Freestyle project and then click on the OK to finish the setup.
  Step 2: Once the item is created, in its settings, go to the General configuration. Enter the project in the description box.
  Step 3: Click on the Source Code Management and select the None option.
  Now, it is time for scheduling Jenkins jobs for a specific duration Note: Here, the duration has a set of rules that need to be followed.
| PERIOD |
MINUTE HOUR DOM MONTH DOW |
| MINUTE |
Minutes in an hour (0-59) |
| HOUR |
The hours of the day (0-23) |
| DOM |
The day of the month (1-31) |
| MONTH |
1-12 months (Jan – Dec) |
| DOW |
Weekdays 0-7, where 0 & 7 represents Sunday |
Step 4: Use Selenium WebDriver and TestNG to create a new testing project.
package Pages;

import static org.testng.Assert.assertEquals;

import java.util.concurrent.TimeUnit;

import org.openqa.selenium.By;
import org.openqa.selenium.WebDriver;
import org.openqa.selenium.chrome.ChromeDriver;
import org.testng.annotations.AfterTest;
import org.testng.annotations.BeforeTest;
import org.testng.annotations.Test;

public class LoginPage {

WebDriver driver;

@BeforeTest
public void setUp() {
System.setProperty("webdriver.chrome.driver", "C:\\Users\\Shalini\\Downloads\\chrom86_driver\\chromedriver.exe");
driver = new ChromeDriver();
}

public void login() {
String login_url = "https://opensource-demo.orangehrmlive.com/";
driver.get(login_url);

driver.manage().window().maximize();
driver.manage().timeouts().pageLoadTimeout(10, TimeUnit.SECONDS);
driver.findElement(By.id("txtUsername")).sendKeys("Admin");
driver.findElement(By.id("txtPassword")).sendKeys("admin123");
System.out.println(driver.getTitle());
}

@Test
public void dashboard() {

driver.findElement(By.id("menu_dashboard_index")).click();
String textPresent = driver.findElement(By.xpath("//*[@id=\"content\"]/div/div[1]/h1")).getText();

String textToBePresent = "DashBoard";
assertEquals(textPresent, textToBePresent);
}

@AfterTest
public void tearDown() {
driver.quit();
}
}
Step 5: Now it’s time to create the TestNG.txt file.
<?xml version="1.0" encoding="UTF-8"?>
<!DOCTYPE suite SYSTEM "http://testng.org/testng-1.0.dtd">
<suite name="TestSuite">
<test name="LoginTest">
<groups>
<run>
<include name="DemoTest"/>
</run>
</groups>
<classes>
<class name="Pages.LoginPage">
</class>
</classes>
</test>
</suite>
Step 6: Navigate to the project folder and add dependencies in different folders. Use the following line of code to create a bat file.
ava –cp bin;lib/* org.testng.TestNG newProject.xml
Step 7: Go to the Jenkins dashboard and select the recently created project. Click on the Configure. In the configuration, go to the General section, click on the Advanced option and then select the “Use custom workplace” option. After that, paste the selenium text project's path as shown in the below image.  Step 9: After configuring General settings, do not close the window. Now, go to the Build section, click on the Add Build Step dropdown menu and choose the Execute Windows batch command option, which will allow you to name the bat file created in Step 6.
  Step 9: After filling in all details and finishing all setups, click on the Apply and Save buttons to reflect the changes to your Jenkins Job/project.
  Step 10: Go to the Build Now section present in the Jenkins dashboard to see the test applied on the Jenkins project/job.
  Now, you’re all set to run your application tests at a scheduled time.
Setup/Add E-Mail Notifications:
Step 1: Let's navigate to the Manage Jenkins section, which is available at the Jenkins dashboard, click on the configure system and select the Email notification option.  Step 2: After that, let's move to the Email Notification Configuration.
- Finally, select the “Test configuration by sending test e-mail” option.
- Then, this email configuration will ensure to send an email notification whenever a new build event (pass or fail) triggers.
So, now your integration process of Jenkins to Selenium or Vice versa finishes.
Have Queries?
Jenkins provides you software-build test cases in a ready state and lets you run them in a single click. And integrating it with Selenium will automate the whole test case build procedure after each build commit. Have queries related to DevOps services and solutions? Book your first free 60 mins of DevOps consultation with our DevOps experts TODAY!.
 EdTech
 FinTech
 Logistics
 Healthcare
 Automobiles
 Manufacturing
 Telecommunications
 InformationTechnology